
This is a very special cake – my little sister just turned 30! Time to pull out all the stops, haul out all the bells and whistles and design a cake with knobs on, so to speak. One other important thing to note – my sister LOVES cats. She’s a self-confessed, aspiring Crazy Cat Lady.
How to describe this cake?! Well, it’s a rainbow-themed rich chocolate pinata cake filled with chocolate ganache, topped with a pink and purple vanilla sponge ‘cat’ that’s filled with vanilla buttercream and raspberry jam. Oh, and the cat’s head is an enormous champagne flavoured cake pop.

Here’s a step by step guide to the cake design. If you’d like the recipes for the cakes, please scroll down to the bottom of this post.
Chocolate pinata cake
This 10″ rich chocolate sponge has 3 layers, which are filled with chocolate ganache. I used a cake wire to cut my cake into layers, which I highly recommend. If you don’t have one a serrated knife will also do the job, but a turntable comes in really handy if you choose this method.
I cut 3″ circles out of the centre of two of the cake layers using a cookie cutter and left the 3rd intact. After layering up the first two layers with the holes in, I filled the gap in the middle with Skittles sweets and added the final layer on top sealing in the sweets.


After crumb coating the cake with more ganache, I iced with white fondant icing (sugarpaste). This cake is mounted on a 14″ cerise cake drum.

To create the rainbow stripes, I divided 500g of white sugarpaste into six and coloured each one a different colour. I used Sugarflair paste in the following colours: Grape violet, ice blue, mint green, pink, tangerine/apricot and melon. Next, I measured the height of my cake (8cm) and rolled each colour out until they had a width of a little over 8cm. After years of wibbley stripes, I bought a new tool to help – the FMM Multi Ribbon Cutting Tool made cutting each of these slabs of colour into stripes so quick and easy.

I was pretty sure if I tried to lift each stripe onto the cake individually, it would end up looking a bit of a mess, so I had a shifty around the t’interweb for a clever solution and happened upon the transfer method. I bought a roll of heavy waxed paper and drew a line along a 30cm-ish length of it on the ‘wrong’ (non-waxy) side and 8cm (depth of cake) from the bottom edge. Alternating between the different colours and widths, I then laid each stripe out on the waxy side of the paper so that they were side by side.


When the wax paper was full, I used a small, sharp knife to trim of the top and bottom pieces along the line I drew and the bottom of the paper. I applied water to about 1/3 of the circumference of the cake and I flipped my transfer onto it. Leaving the paper on, I smoothed around the stripes with the palm of my hand, and then I peeled the paper away leaving the stripes on the cake. This was so much more straightforward than I’d feared, I totally recommend you give it a try. I repeated this step to completely cover the whole circumference of the cake, and with the last one I measured the gap and just did enough stripes to fill it.


Vanilla cat cake
I baked two 4.5″ vanilla cakes, colouring the batter of one purple (Sugarflair Grape violet) and the other pink (Sugarflair Pink). Once cool, I cut each cake into three layers, so I had six layers in total. When colouring cakes, you’ll probably find that the outside edge is not the nice, bright colour of the main sponge, but instead a bit gunky looking. I placed a ramekin that was slightly smaller than each cake on top of each layer and trimmed away this icky bit with a small, sharp knife.

Now, cats are not perfect cylinders, more’s the pity, so I needed to create some shoulders. I layered up the first three cakes, alternating pink and purple sponges, and between vanilla buttercream and raspberry jam for the filling. Top tip: On the jam layers, I first added a thin ring of buttercream around the edge of the cake and then filled the middle with jam. This helps to stop the jam oozing out, which causes an unholy mess when doing the crumb coat. Next, I layered up the other three cakes as a separate tower, being careful to make sure that the bottom of one tier was a different colour to the top of the other, so when they were put together the colours would still alternate.

I took a sharp knife to the first of these cake towers and cut away the cake diagonally from top of bottom, repeating this on opposite sides and then working my way around the cake to take off the corners until I was left with a smooth cone with a flat top. I then popped this tower on top of the other one on a 5″ thin cake card and added a vanilla buttercream crumb coat. Finally, the cat’s body was covered with Culpitt purple sugarpaste and it was time to get started on his head.


Champagne cake pop
I had no idea how much cake I would need for a cake pop this size (a little bigger than the size of my fist), but I figured a 9″ cake would more than do the job. I used the same recipe as for the vanilla sponge, but I left out the vanilla extract and swapped the milk for champagne (Good news! You need less than a glass of champers, so there’s a good 3/4 of a bottle left over for chef’s perks).

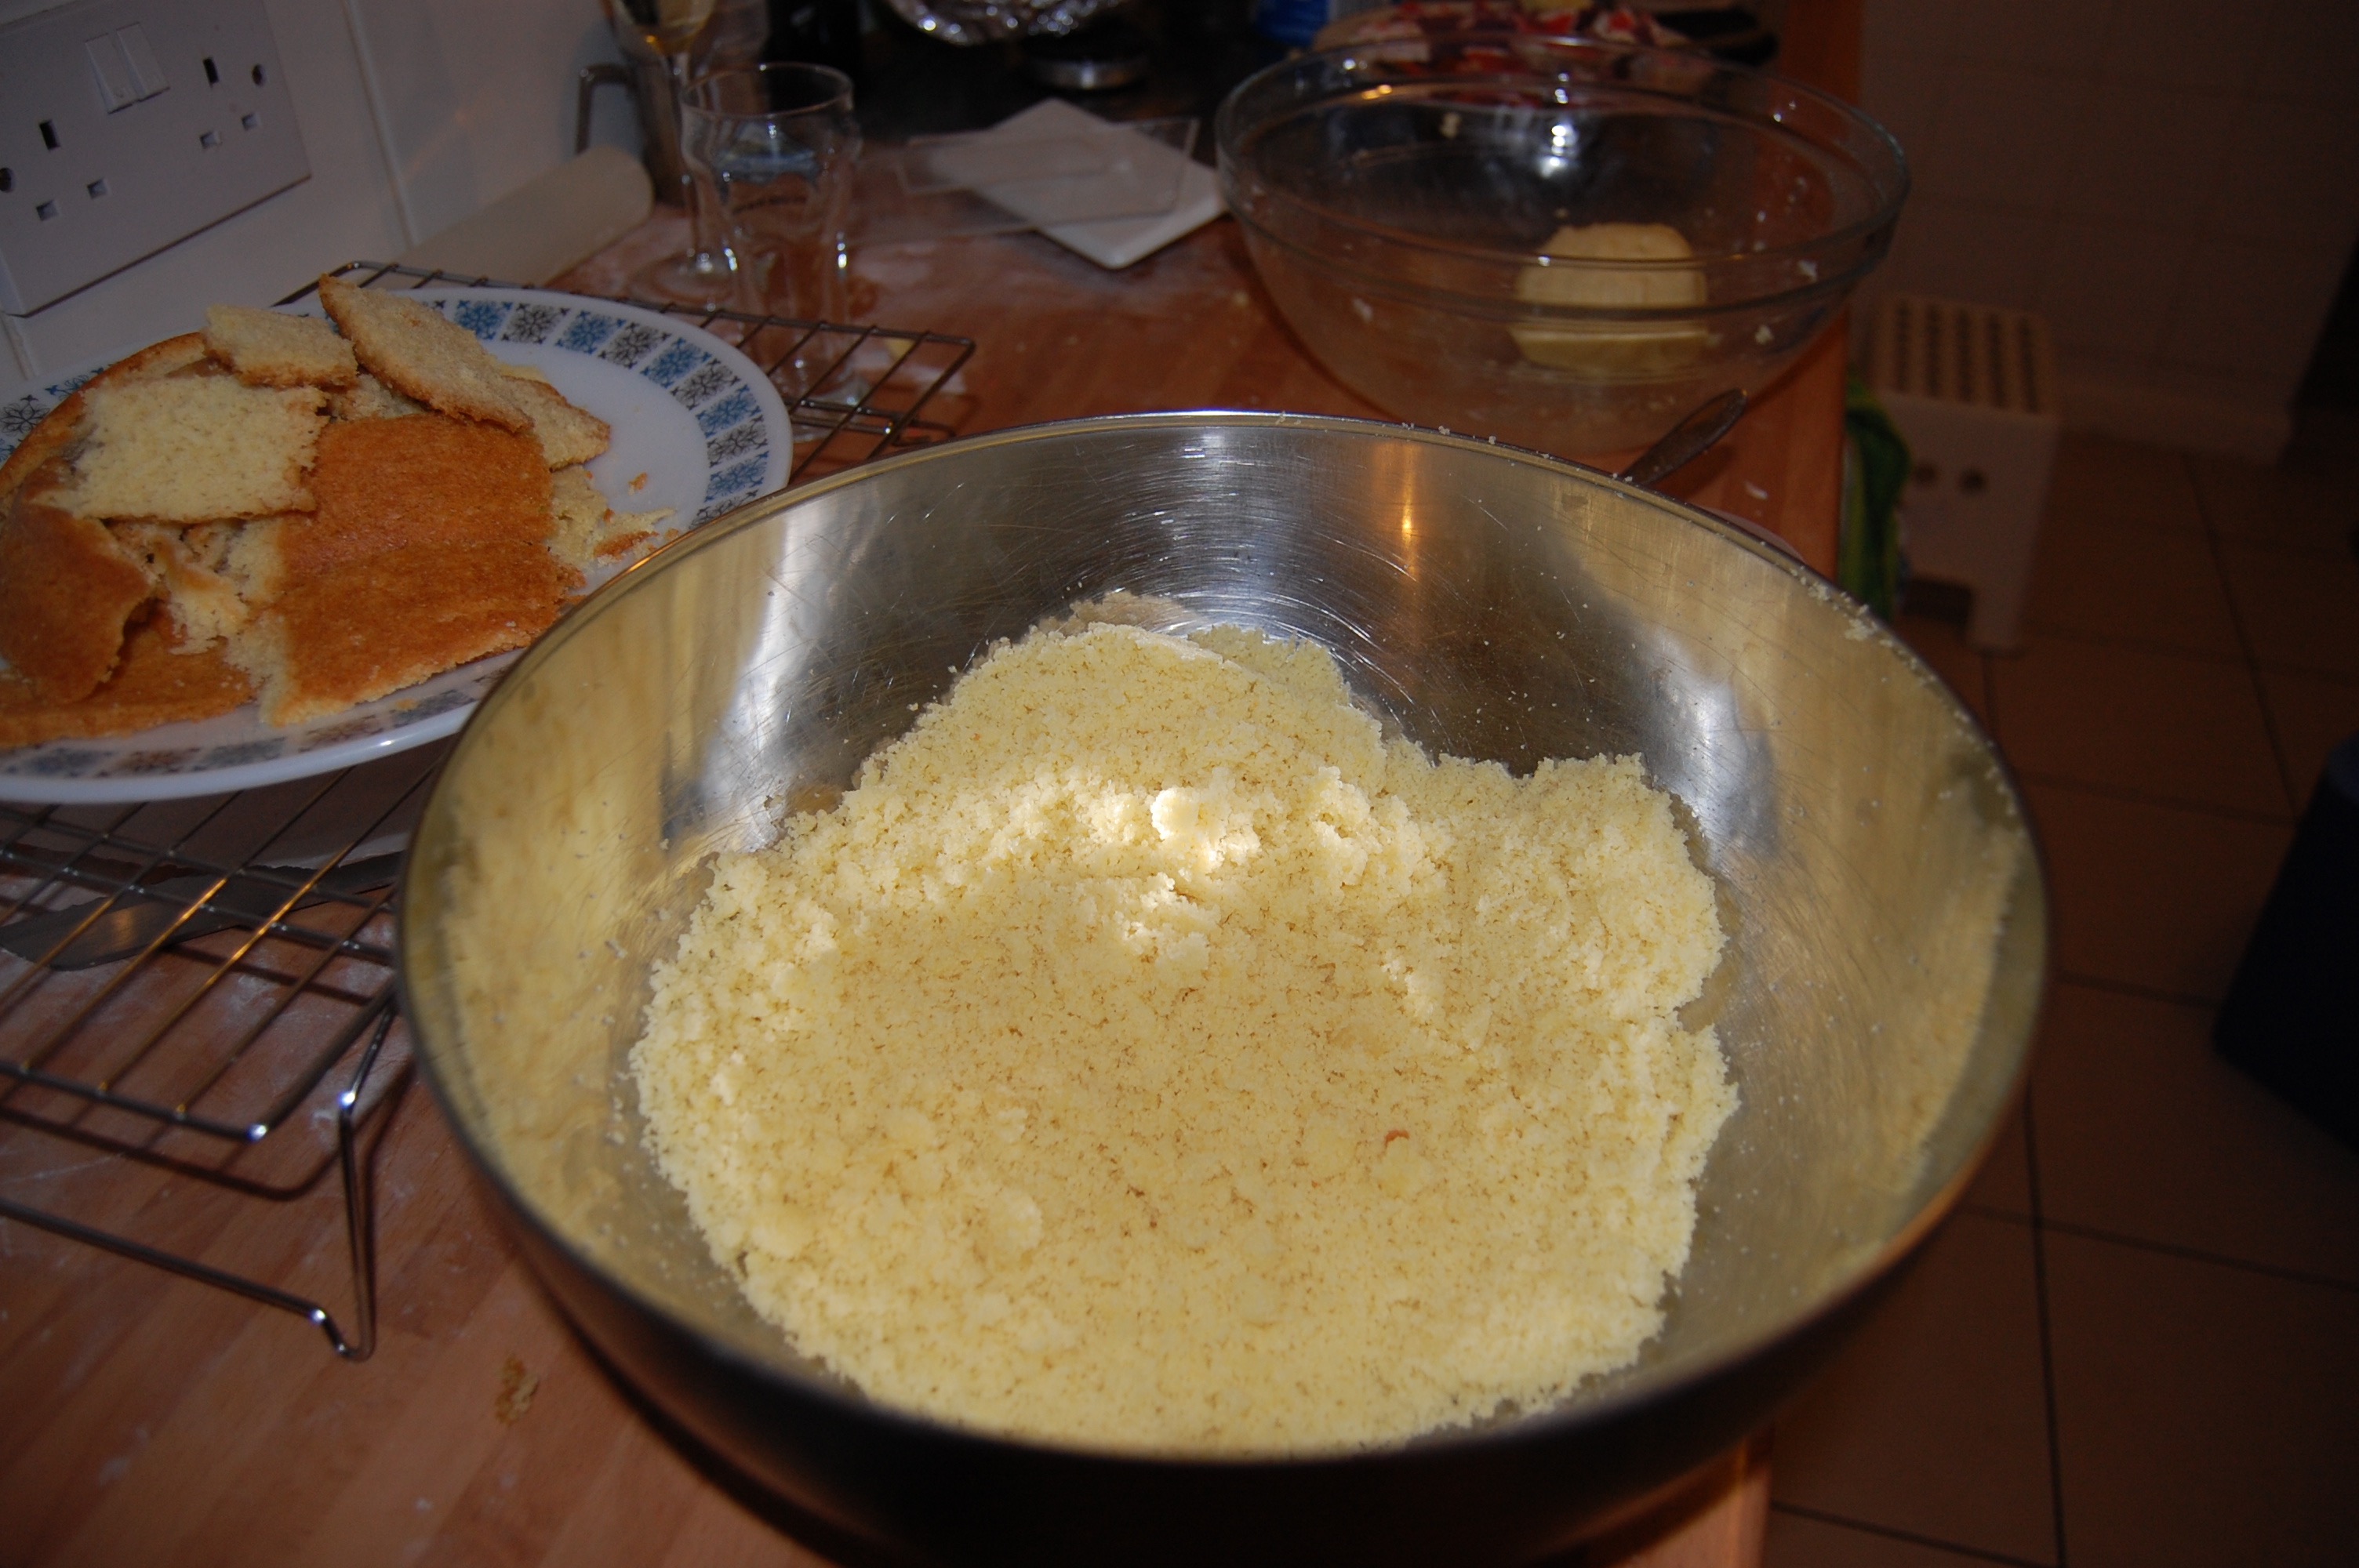
I prepared champagne buttercream in the same way, using champagne instead of milk. Next, I crumbed the cake by cutting it in half and rubbing the two sides together over a bowl, but before doing so I trimmed off the top and edges so there was no cake crust in the mix. I created the cake pop by gradually mixing some cake crumbs with buttercream, until I ended up with a ball a bit bigger than my fist and the consistency was a firm ‘dough’. I wrapped it in clingfilm and popped it in the freezer to firm up before icing, and then covered it with the same purple sugarpaste as I used for the body.


I was a bit worried about the cat’s head inadvertently rolling off his shoulders, so while waiting for the cake pop to firm up, I cut a wide, hollow plastic dowel to a height a few centimetres taller than the cat’s body and popped this through the middle of this cake.

Finishing touches
The cat needed a face, some paws and a tail to become more than an oddly shaped purple lump. I just used some small pieces of leftover white sugarpaste and coloured the little bits to create a pink nose, green eyes, a collar and tag and white cheeks and paws. His tail was a long, thin purple sugarpaste sausage, and his ears small triangles. All of the features were stuck on by dampening the back of each piece with water before holding place.

To add my sister’s name to the board, I used mexican modelling paste and the Clikstix Script Upper Case Alphabet cutter. These were really fiddly, so I was glad I’d decided to abandon my original plan to also include the words ‘Happy Birthday’.
Construction
Shortly before the cake was required, I added the cat’s head (sans face), pushing it onto the exposed dowel and stuck the features on. Next, I lifted the cat’s body onto the big, round chocolate cake.


The final touch was some sparklers pushed into the top of his head and the addition of three candles (we chartered a canal boat for the celebrations – lots of wood – so 30 candles might have put us at risk of sinking, eep! As it was, the fire alarm went mental). Et voila!


I bought a lot of the items for this cake from Cake Craft World, and you can get a 10% discount on your order from this store by using the code AFLKG at the checkout. Full disclosure: I’m an affiliate of Cake Craft World, and if you use the code I do receive a small fee.
Recipes
Chocolate cake
Inspired by the BBC Good Food Rich Chocolate Wedding Cake. I re-scaled the recipe to make a 10″ cake, rather than the 12″ cake in the recipe.
Vanilla cake
Inspired by Cupcake Jemma’s Best Ever Rainbow Cake. I re-scaled the recipe to make two deep 4.5″ cakes, rather than the six 8″ cakes in the recipe.
Champagne cake pop
Adapted from the vanilla cake recipe above. Milk was replaced with the same quantity of champagne.
I’d love to hear from you, please leave me a comment or ask any questions about this cake below and I’ll be sure to reply.

